benv1010SiennaLang
Sunday, April 26, 2020
Wednesday, April 15, 2020
REVISED WEEK 6 ACTIVITIES
REVISION
When overlooking the assessment criteria I noticed that my week 5 activity hadn't satisfied the brief as it didn't include three rectangular prisms. The below fusion make up is a better representation of my space and the surrounding rooms. This model was more difficult to create however its complexity shows the space more clearly. I struggled with the creation of the illustrator file but with the direction of the fusion tutorials I was able to complete this activity.
Tuesday, April 7, 2020
FOLDING ACTIVITIES
FOLDING ACTIVITY No.1:
This folding activity involved cutting paper in a wave like shape. By taping the bottom and creating a circular shape with the strip of paper I was able to alternate the waves to create an overlapping effect. This could be a method of shaping light in a space.FOLDING ACTIVITY No.2:
This fold could be used to create a seat or a roof for a space. The geometric folds created an interesting pattern and places for one to potentially sit.
FOLDING ACTIVITY No.3:
This activity was very simple and allowed me to understand how height and dimension can be added to a space just by thinking outside of the box. Overall these activities showed me that simple objects can be made more complex and interesting.MODEL PHOTOSHOP ACTIVITY
PHOTOSHOP ACTIVITY
For this weeks activity we were asked to photoshop materials onto a photo of our model. I enjoyed this activity as it allowed me to see this space as if it were a real room. Through the use of different textures and colours the space was transformed quite easily. I struggled the most when trying to remove portions of my photo so the sky could be seen in the background. By rasterizing the image I was able to use the rubber tool to remove these sections. Although this probably isn't recommended, I found this the easiest method to achieve the final product. Changing the size of the materials was simple as the space has clean simple lines.
Monday, April 6, 2020
WEEK 8 ACTIVITIES
Wednesday, April 1, 2020
LIGHTING WORKSHOP
LIGHTING WORKSHOP
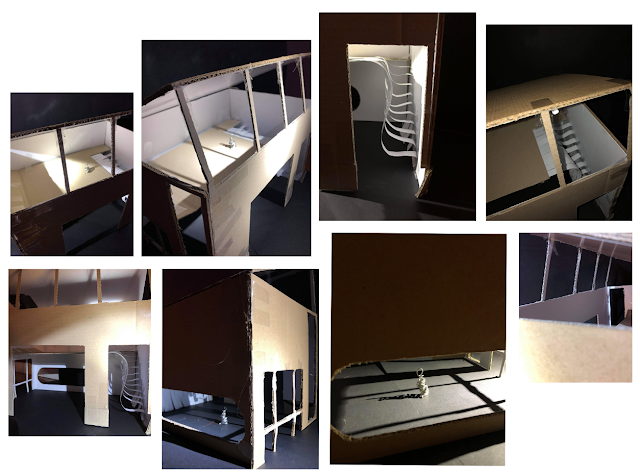
The following model was created at 1:20
Through the use a flashlight and a black background I was able to recreate the stream of natural light that would enter this building if it were to be made. Upon reflection, in the future I will take photos in both a light and dark room for variety. These photos were taken at night and only shows one perspective so for further improvement in my photography skills natural light will be used in the future.
Saturday, March 28, 2020
WEEK 7 ACTIVITIES
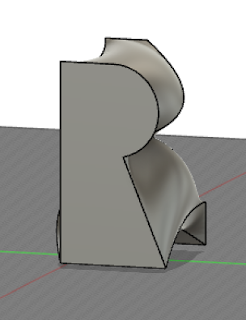
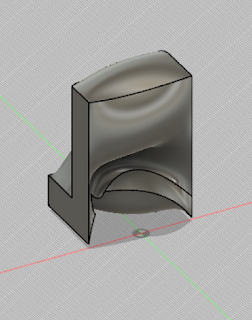
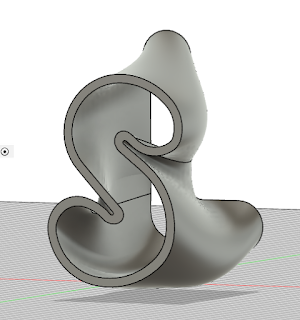
The above snapshots show my final attempt at the initials activity, ready for hand in. The final product was achieved by restarting the activity and re-shaping the letters entirely. By rounding out all the edges of every letter the angles became less harsh, avoiding "intersecting" of the letters. The "L" was also placed higher so its harshest curve was aligned with the other letters narrowest curves. The final thickness is 2.00mm.
WEEK 6 ACTIVITIES
Sunday, March 15, 2020
WEEK 3 ACTIVITIES
This rough sketch of the site allowed our group to understand the positioning and measurements of each of the structures and elements found in our area.
Subscribe to:
Comments (Atom)
-
DESIGN ONE: The inspiration for this design was simple with a bold element to it. The use of glass added minimal colour or textur...
-
The above images make up my first attempt at creating my initials with Fusion 360. I encountered a number of issues such as ...


